> ## Documentation Index
> Fetch the complete documentation index at: https://docs.featpaper.com/llms.txt
> Use this file to discover all available pages before exploring further.
# Upload Your First Document
> Learn how to upload your first document on FeatPaper and create a sharing link.
## Creating a Folder
Before uploading documents, you can create folders to keep your documents organized.
Click **Documents** in the sidebar to navigate to the document management screen.
Click the **+ Create** button at the top right and select **New Folder**, then enter a folder name.
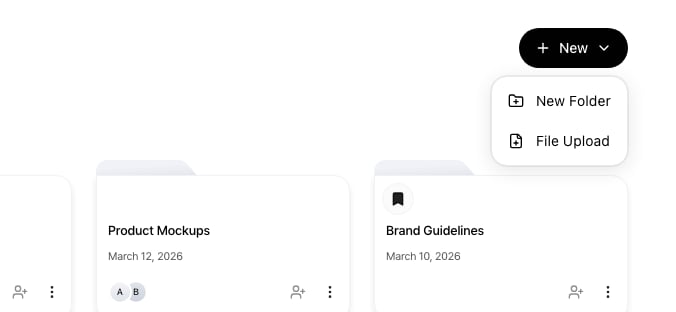 Organizing folders by client, project, or campaign helps you manage documents more efficiently.
***
## Uploading Files
Upload files within a folder. When a folder has no documents, a dashed-border upload area is displayed in the center.
Organizing folders by client, project, or campaign helps you manage documents more efficiently.
***
## Uploading Files
Upload files within a folder. When a folder has no documents, a dashed-border upload area is displayed in the center.
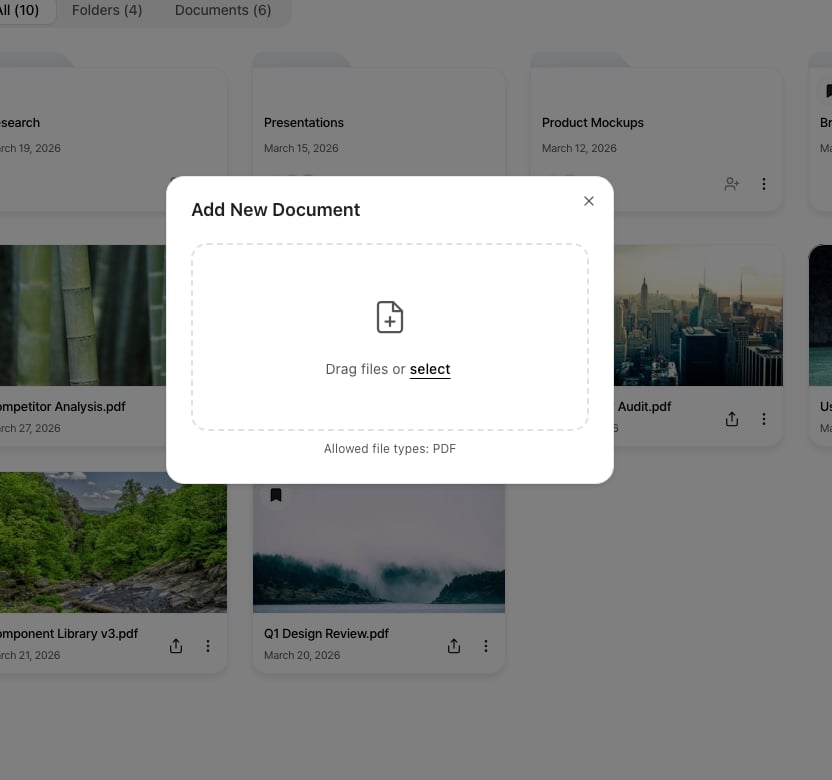 **Drag and drop** files onto the upload area, or **click** the area to select files.
The file upload begins and progress is displayed. Once the upload is complete, the document is added to the document list.
The following file formats are supported:
| Format | Extension |
| -------------- | --------------- |
| **PDF** | `.pdf` |
| **PowerPoint** | `.ppt`, `.pptx` |
File size limits vary by subscription plan.
| Plan | Max File Size |
| ---------- | ------------- |
| Free | **50MB** |
| Pro | **100MB** |
| Business | **300MB** |
| Enterprise | **10GB** |
***
## After Upload
Once the upload is complete, you can proceed with the following actions on the document detail page:
**Drag and drop** files onto the upload area, or **click** the area to select files.
The file upload begins and progress is displayed. Once the upload is complete, the document is added to the document list.
The following file formats are supported:
| Format | Extension |
| -------------- | --------------- |
| **PDF** | `.pdf` |
| **PowerPoint** | `.ppt`, `.pptx` |
File size limits vary by subscription plan.
| Plan | Max File Size |
| ---------- | ------------- |
| Free | **50MB** |
| Pro | **100MB** |
| Business | **300MB** |
| Enterprise | **10GB** |
***
## After Upload
Once the upload is complete, you can proceed with the following actions on the document detail page:
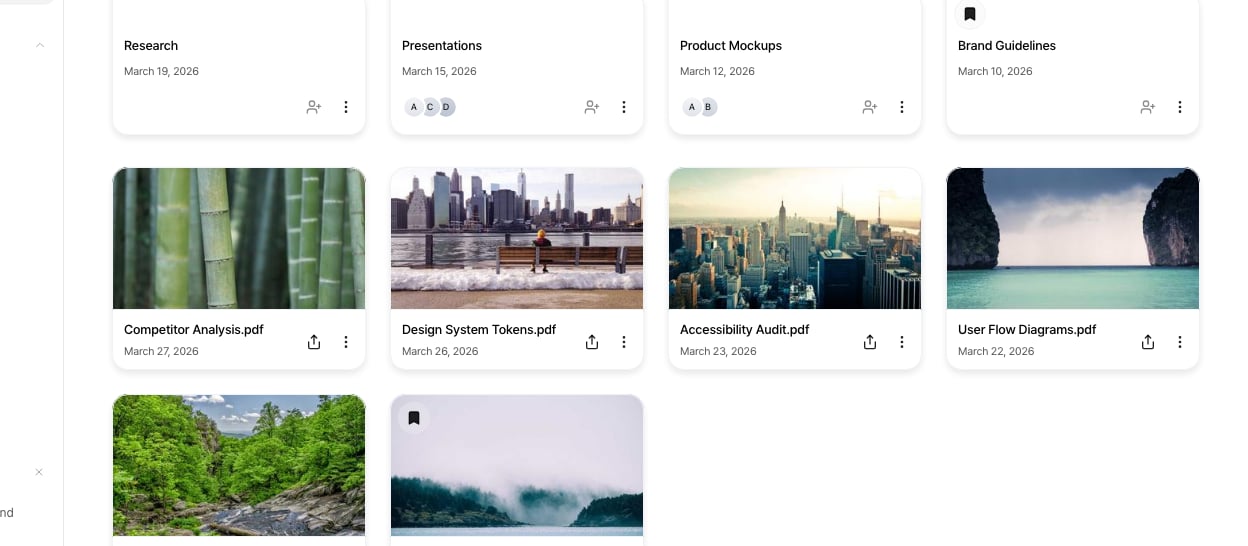 * **Create a Sharing Link**: Generate a secure link to share the document externally.
* **Configure Viewing Settings**: Allow or restrict downloads, set up CTA buttons, lead forms, and more.
* **View Analytics**: See who viewed the document, when, and which pages they read.
For detailed instructions on creating a sharing link, see the [Create a Sharing Link](/en/sharing/share-link) guide.
***
## Next Steps
Learn about viewing analytics and managing your uploaded documents.
Learn how to securely share documents and configure viewing permissions.
* **Create a Sharing Link**: Generate a secure link to share the document externally.
* **Configure Viewing Settings**: Allow or restrict downloads, set up CTA buttons, lead forms, and more.
* **View Analytics**: See who viewed the document, when, and which pages they read.
For detailed instructions on creating a sharing link, see the [Create a Sharing Link](/en/sharing/share-link) guide.
***
## Next Steps
Learn about viewing analytics and managing your uploaded documents.
Learn how to securely share documents and configure viewing permissions.