
Inviting Members
You can invite team members to your space to collaborate on documents together.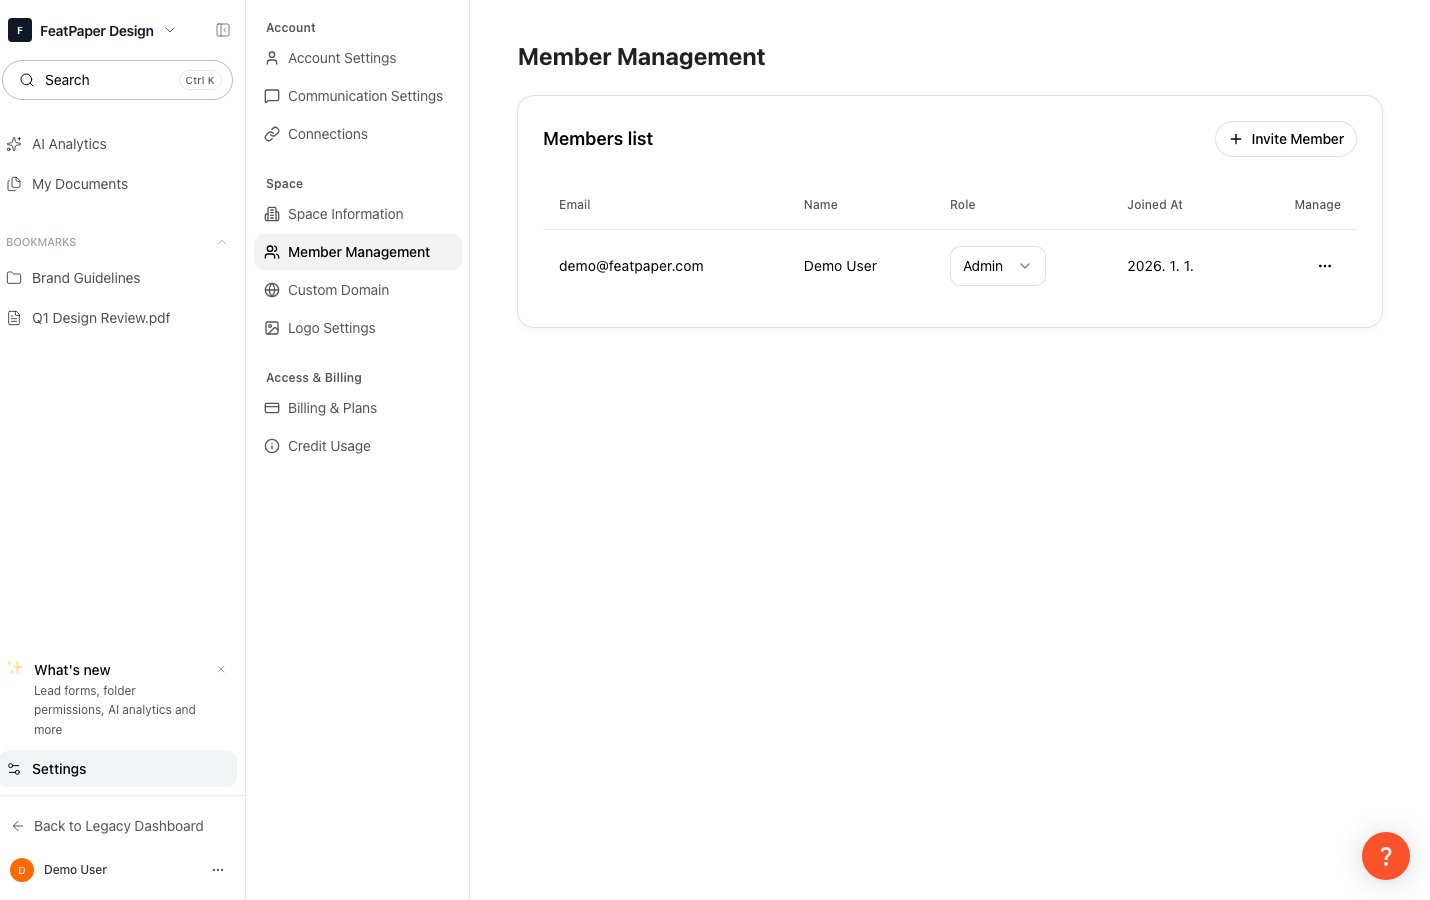
Member invitation is available on the Business plan and above only.
Invite by email
Enter the email address of the team member you want to invite, select a role, and click the Invite button.
Role Permissions
Space members are divided into two roles: Admin and Member. The table below shows the key permission differences at the space level.| Permission | Admin | Member |
|---|---|---|
| Upload and manage documents | O | O |
| Create document share links | O | O |
| Branding settings | O | X |
| Invite and manage members | O | X |
| Billing and plan management | O | X |
Changing Roles
Removing Members and Canceling Invitations
- Remove a member
- Cancel an invitation
Under Settings > Members, click the Remove button next to the member you want to remove. Removed members will no longer have access to the space.
Seat Limits by Plan
| Plan | Default Seats | Additional Seats |
|---|---|---|
| Free | 1 | X |
| Pro | 1 | X |
| Business | 3 | Available for purchase |
| Enterprise | Custom | Adjustable upon request |
Member invitation is available on the Business plan and above only. Free and Pro plans are for single-user use.