
Custom domain is an Enterprise plan exclusive feature. It is not available on other plans.
What is a Custom Domain?
With a custom domain, you can serve FeatPaper viewer links under your own domain (e.g.,docs.mycompany.com).
This delivers a brand-consistent experience to recipients and increases trust.
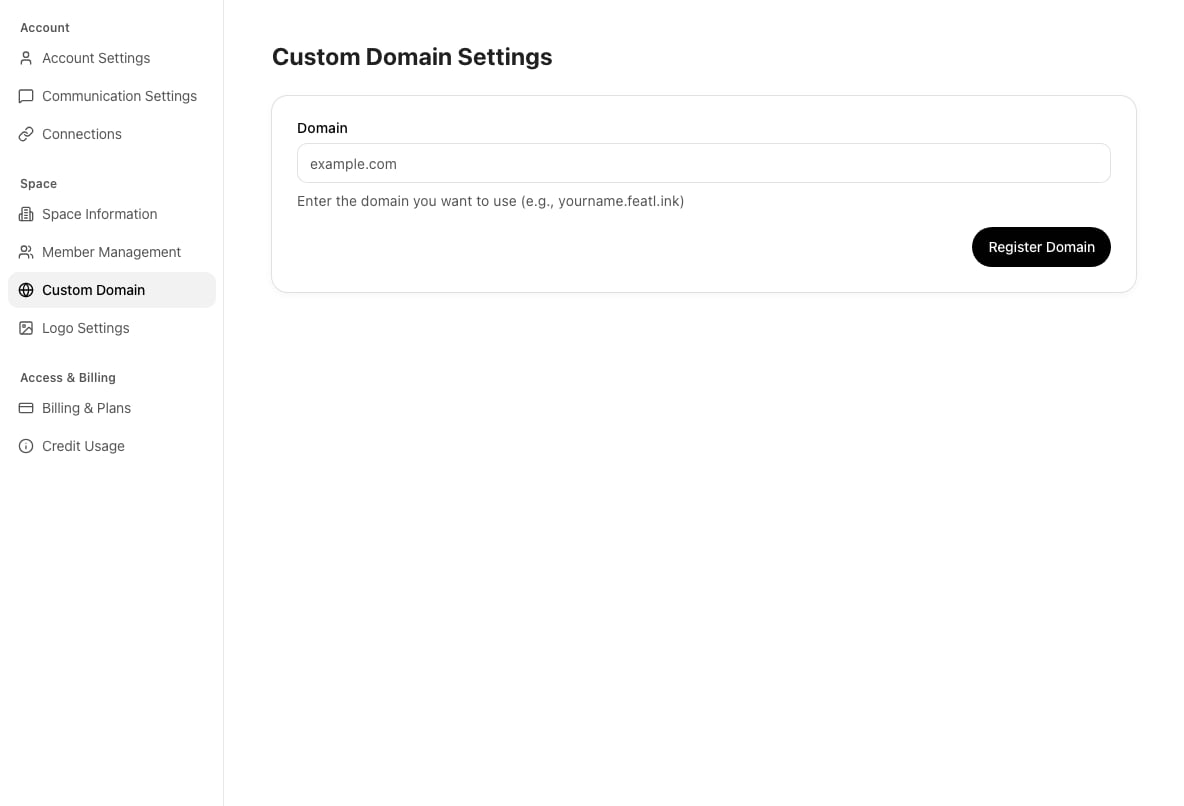
Connect your own domain in Settings > Custom Domain
Registering a Domain
1
Go to Settings
Navigate to Settings > Custom Domain in the sidebar.
2
Enter Domain
Enter the domain you want to connect (e.g.,
docs.mycompany.com) and click the Register button.3
Check DNS Records
After registration, review the DNS record information displayed. You need to configure two records.
DNS Configuration
After registering the domain, you need to add the following two records in your DNS management page.1
Access DNS Management Page
Log in to the DNS service managing your domain (e.g., AWS Route 53, Cloudflare, GoDaddy, etc.).
2
Add ACME Certificate Record
Add the ACME verification CNAME record as instructed by FeatPaper.
3
Add CloudFront CNAME Record
Add the CloudFront distribution CNAME record as instructed by FeatPaper.
4
Wait for Propagation
DNS record changes may take up to 48 hours to propagate.
Domain Status
The registered domain goes through the following statuses before activation.If the status is FAILED, verify that the DNS records were entered correctly. After making corrections, click the Re-verify button in FeatPaper to run verification again.
Deleting a Domain
If you no longer want to use a custom domain, click the Delete Domain button in Settings.Important Notes
- Only subdomains (e.g.,
docs.mycompany.com) are supported. Root domains (e.g.,mycompany.com) cannot be used. - Only one custom domain can be connected per workspace.
- SSL certificates are automatically issued and renewed, so no separate management is required.
Next Steps
Branding Settings
Set up your logo and lead form alongside your custom domain.
Create a Share Link
Share documents with your custom domain applied to the link.