
At a Glance
| Feature | Old (1.0) | New Dashboard (2.0) |
|---|---|---|
| Lead Form | User-level, applied globally | Per-document settings, centrally managed templates |
| CTA Settings | Configured individually per user | Configured per space member |
| Folder Permissions | Not available | Separate Editor / Viewer permissions |
| AI Analytics | Not available | AI-powered document insights |
| Architecture | User-based | Space-based team collaboration |
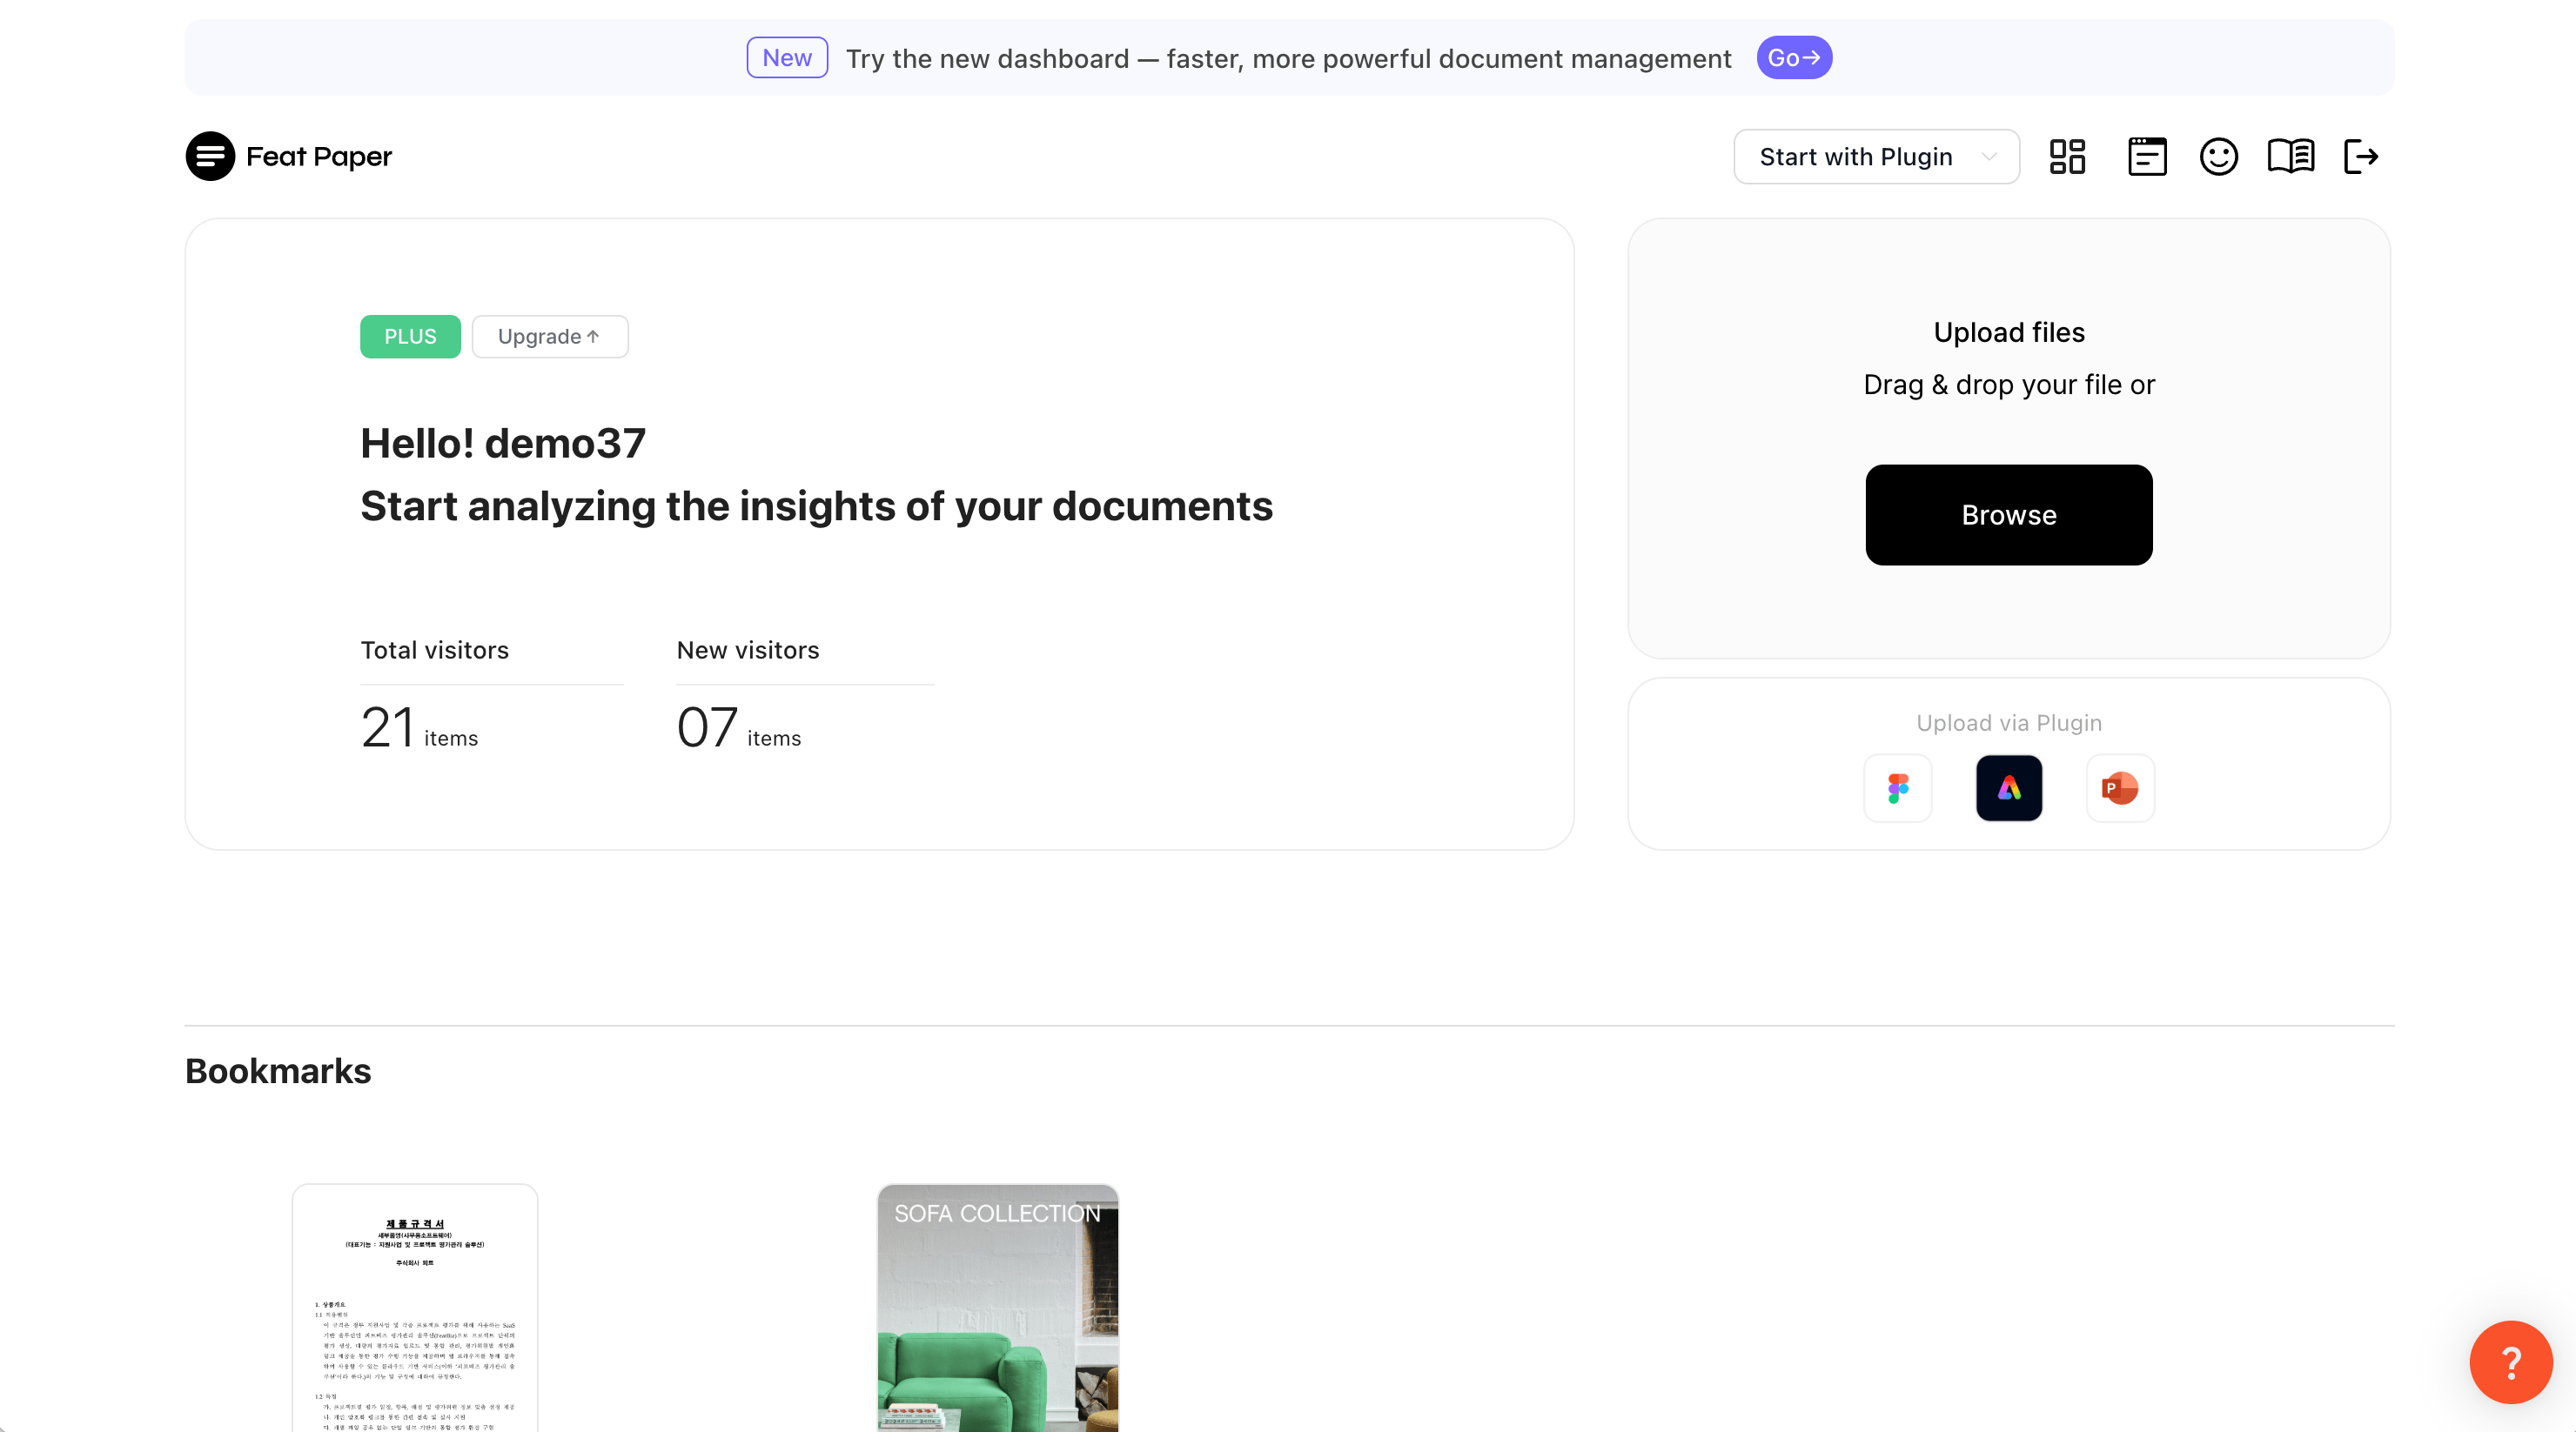
- Old Dashboard
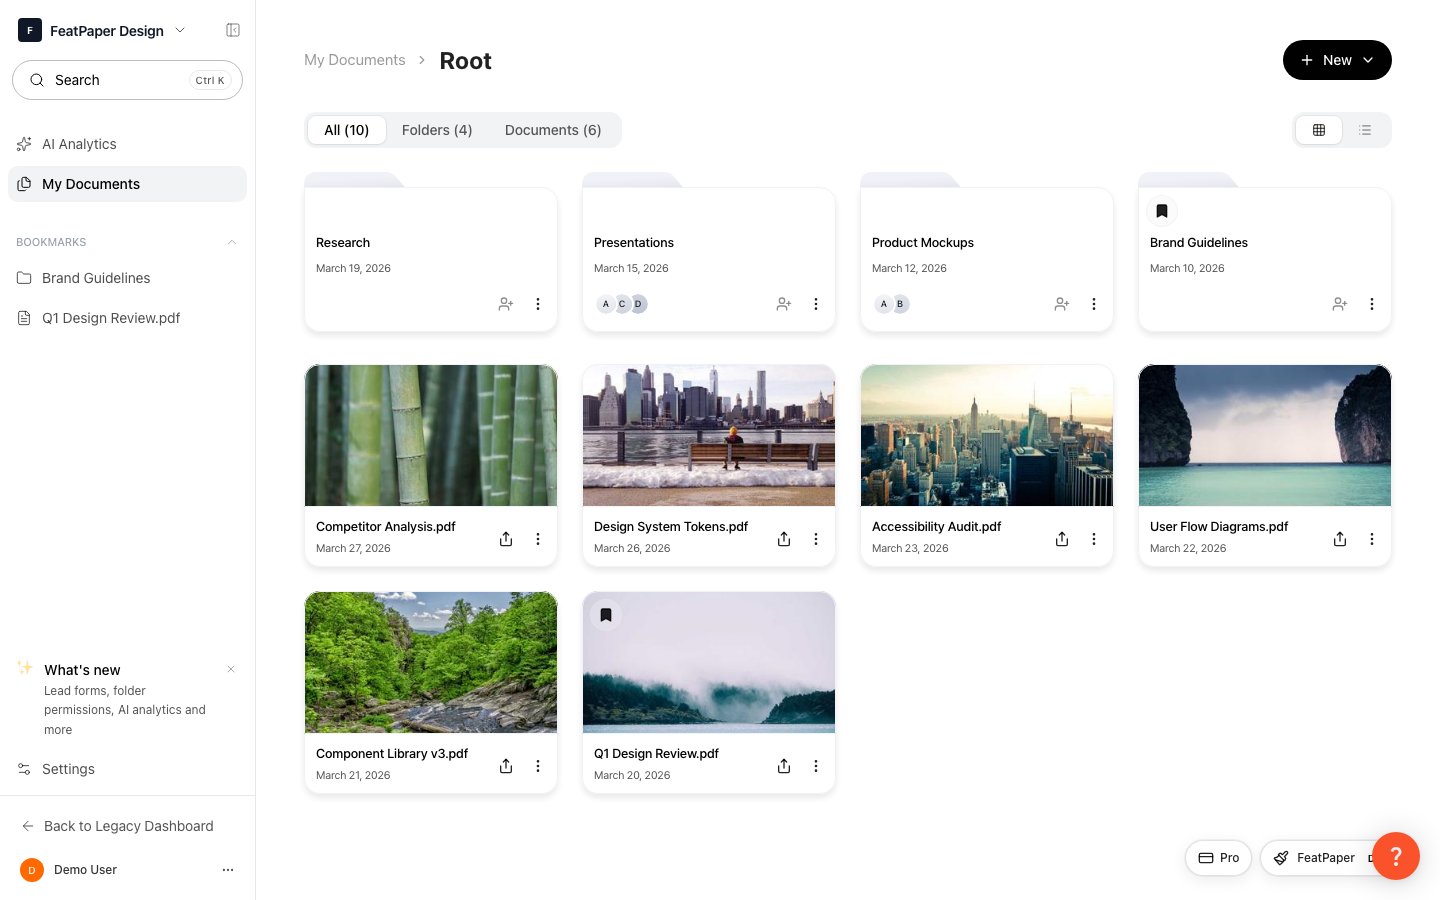
- New Dashboard
How to Switch Dashboards
Old Dashboard → New Dashboard
Click the dashboard switch icon (the first icon) in the top header of the old dashboard. If you have not switched yet, a red notification dot will be displayed.
New Dashboard → Old Dashboard
Click the Back to legacy dashboard button at the bottom of the new dashboard’s sidebar.
Lead Form
The way lead forms are configured for collecting customer information has changed significantly.- Old Method
- New Method
Previously, setting a lead form at the user level applied it uniformly to all documents, and the available field options were limited.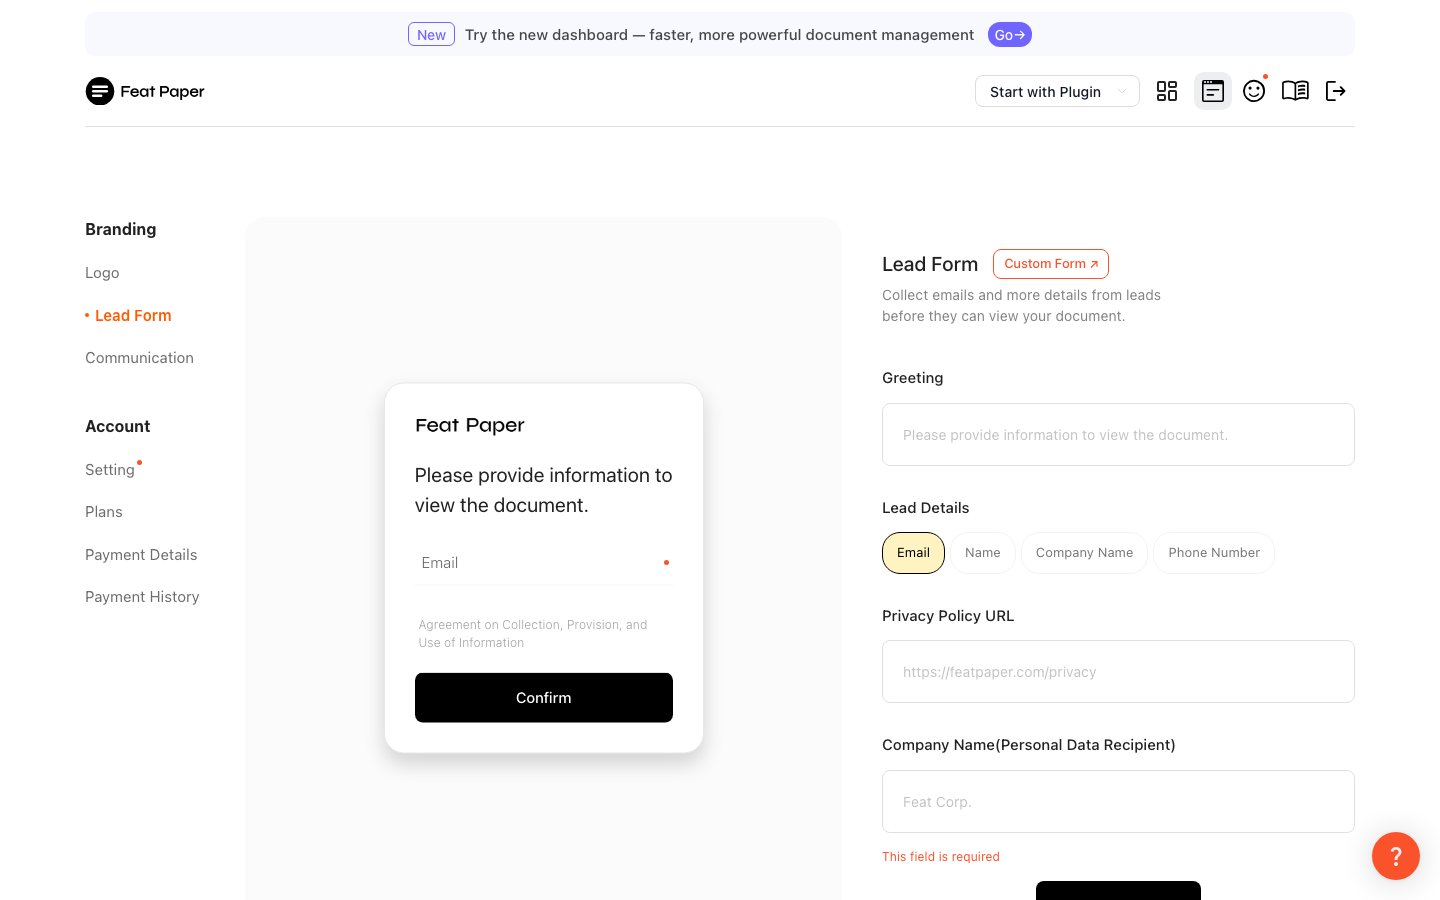

- Per-document lead form: Configure individually from each document’s Motion Editor
- Variety of field types: Choose from Email, Text, Checkbox, Radio, and more
- Centrally managed templates: Load and reuse templates saved in the space
- Form position: Drag to place the form between any pages
CTA Settings
CTA (Call-to-Action) button settings are now configured per space member. Old method: Each user individually configured their own CTA channels such as email, Slack, or KakaoTalk. New method: Configure per space member from the communication settings in Settings. The same CTA is applied to all documents shared within that space.Custom CTA settings that apply to a single document are also supported in document settings. If you want to use a different CTA per document, you can configure it separately in the document settings.
Folder Access Permissions
In the new dashboard, you can manage access permissions in detail at the folder level.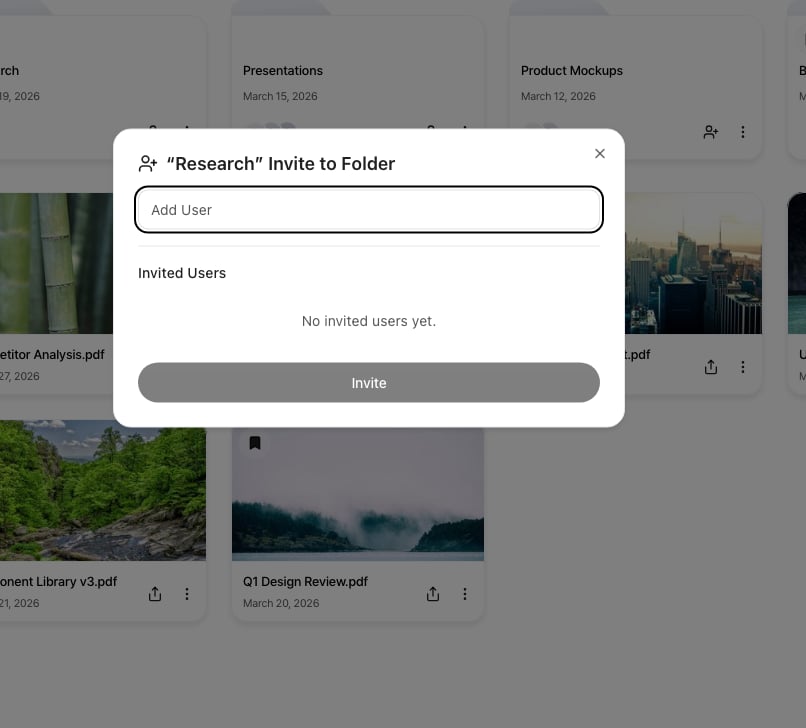
| Permission | Description | Accessible Data |
|---|---|---|
| Editor | Users with edit access to the folder | Tracking data from all sharers of every document in the folder |
| Viewer | Users with view-only access to the folder | Only tracking data from documents they shared themselves |
AI Analytics
A new feature where AI analyzes document viewing data and provides insights.
- Access from the AI Analytics menu in the sidebar (Admin only)
- Analyze by individual document or across the entire space
- Ask questions in natural language and AI queries the data to respond
- Follow-up questions enable deeper analysis
AI Analytics is available on Pro plans and above, and 1 credit is deducted per question.
Other Changes
Space-Based Team Collaboration
Invite team members and manage roles (Admin / Member) at the workspace level.
Member Invitations and Management
Invite team members and change roles from the member management page.
Plan Changes
Subscriptions are now space-based, with pricing determined by the number of seats.
Bookmarks
Bookmark frequently used documents for quick access directly from the sidebar.
Document Search
Use Cmd+K / Ctrl+K from the top of the sidebar to quickly search for documents.
Importing Existing Documents
Documents that exist only in the old dashboard (1.0) can be imported into the new dashboard (2.0) workspace.Click the Import Button
Click the Import My Documents button at the bottom of the new dashboard sidebar.
Import in Progress
A progress bar will appear as the documents are moved. Please wait a moment for the process to complete.
This feature is only visible to the space owner (Admin).