
What is Branding?
Through branding settings, you can customize the logo, lead capture form, and communication channels displayed in the document viewer. Manage all branding options from Settings > Branding.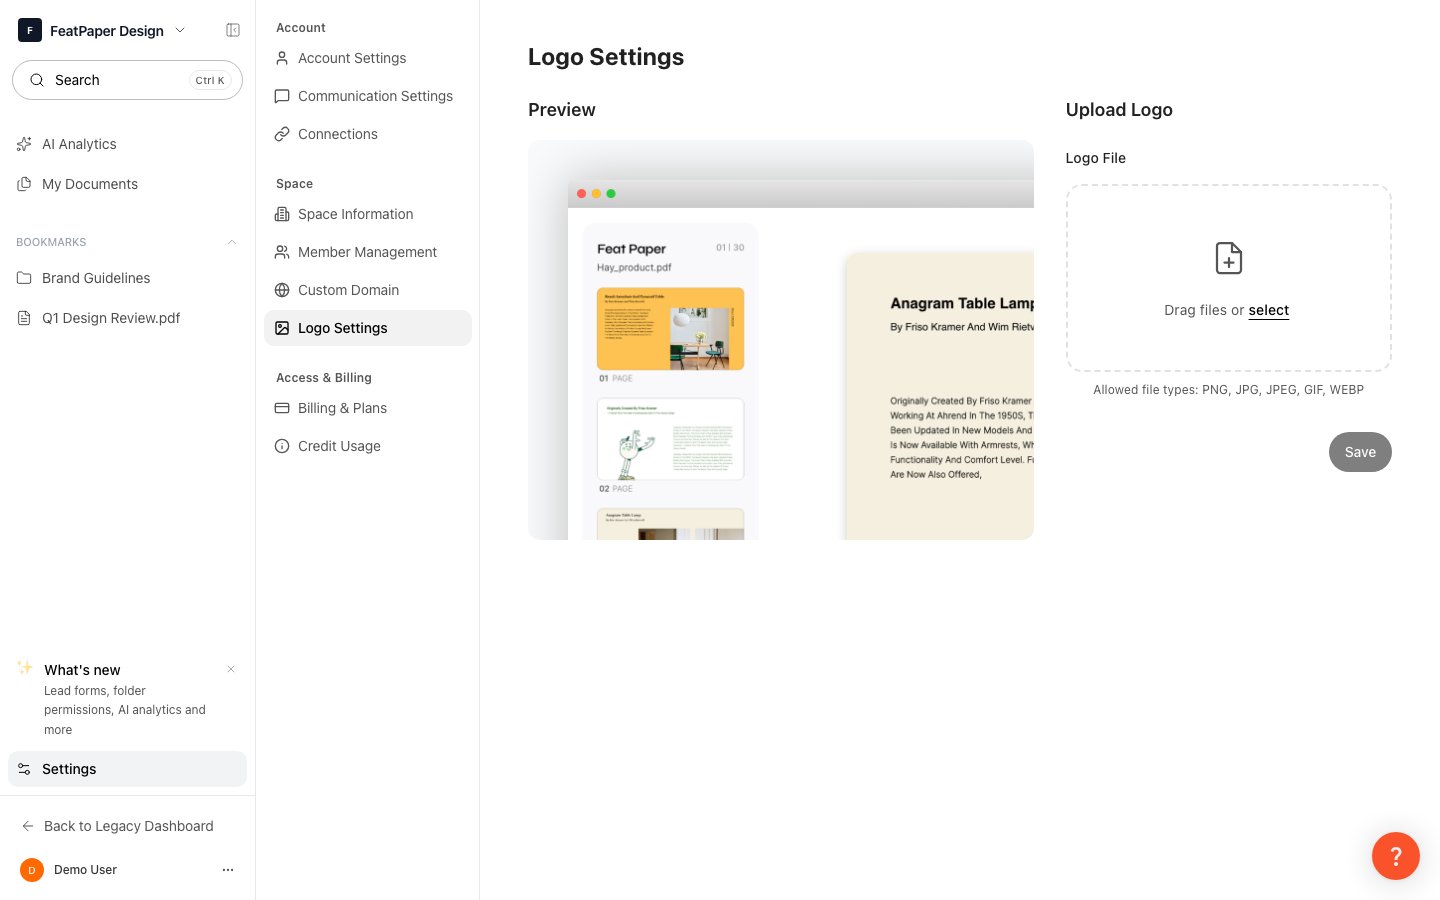
Configure your logo and channels in Settings > Branding
Logo Settings
You can register a custom logo to be displayed on the viewer screen.1
Go to Settings
Navigate to Settings > Branding in the sidebar.
2
Upload Logo
Upload a logo image in the Logo section. PNG or SVG format is recommended.
3
Save
Click the Save button, and the logo will be displayed in the viewer for all subsequently created shared links.
Lead Capture Form
You can set up a form to collect recipient information before they view the document.1
Enable Lead Capture Form
Enable the Lead Capture Form in the Branding settings.
2
Configure Fields
Add custom fields for the information you want to collect and set whether each is required.
3
Write Consent Text
Enter consent text regarding personal data collection.
When the corporate email only option is enabled, the form cannot be submitted with personal email domains such as gmail.com or naver.com. This is useful for B2B sales materials.
Communication Channels
Configure the contact information displayed on the viewer screen. Recipients can reach out directly while viewing the document.CTA Button
You can configure a call-to-action (CTA) button displayed at the bottom of the viewer.1
Add CTA Button
Click Add CTA Button at the bottom of the communication channel settings.
2
Enter Text and Link
Enter the text to display on the button and the URL to navigate to when clicked.
Next Steps
Custom Domain
Connect your own domain to complete your brand experience.
Create a Share Link
Share a document with your branding applied.