
Creating a Folder
Before uploading documents, you can create folders to keep your documents organized.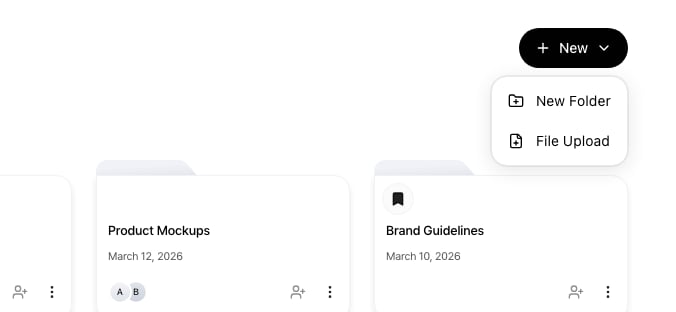
Uploading Files
Upload files within a folder. When a folder has no documents, a dashed-border upload area is displayed in the center.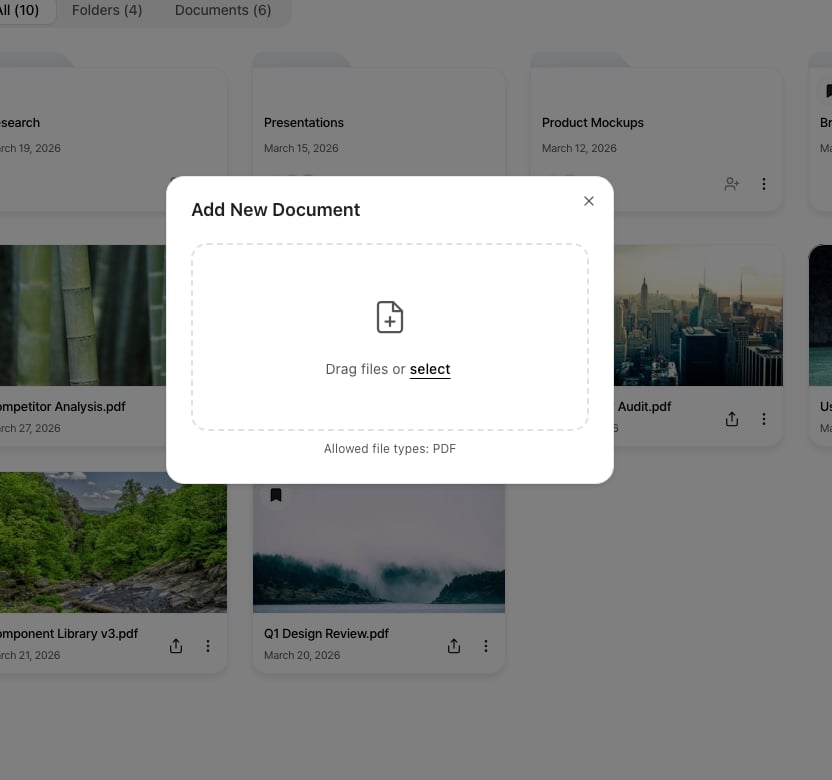
The following file formats are supported:
| Format | Extension |
|---|---|
.pdf | |
| PowerPoint | .ppt, .pptx |
After Upload
Once the upload is complete, you can proceed with the following actions on the document detail page: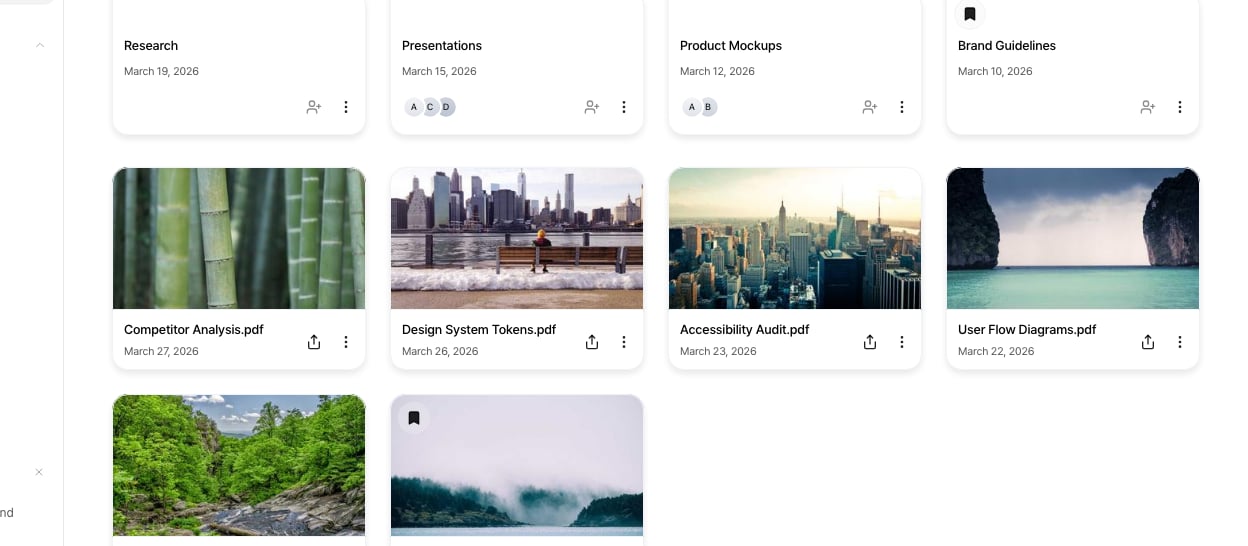
- Create a Sharing Link: Generate a secure link to share the document externally.
- Configure Viewing Settings: Allow or restrict downloads, set up CTA buttons, lead forms, and more.
- View Analytics: See who viewed the document, when, and which pages they read.
Next Steps
Manage Documents
Learn about viewing analytics and managing your uploaded documents.
Create a Sharing Link
Learn how to securely share documents and configure viewing permissions.